|
   
Tutorial 3 - Using The Weather Control Tool
In this tutorial you will see how Ground Environment
Professional can intelligently install textures for you based on METAR
information obtained from your selected departure point, destination and
any waypoints you enter in between.
Ok lets' get started.
Scenario:
We wish to Fly from Chicago (KORD) to Atlanta (KATL)
First we open the Weather Control screen and are presented
with the following information
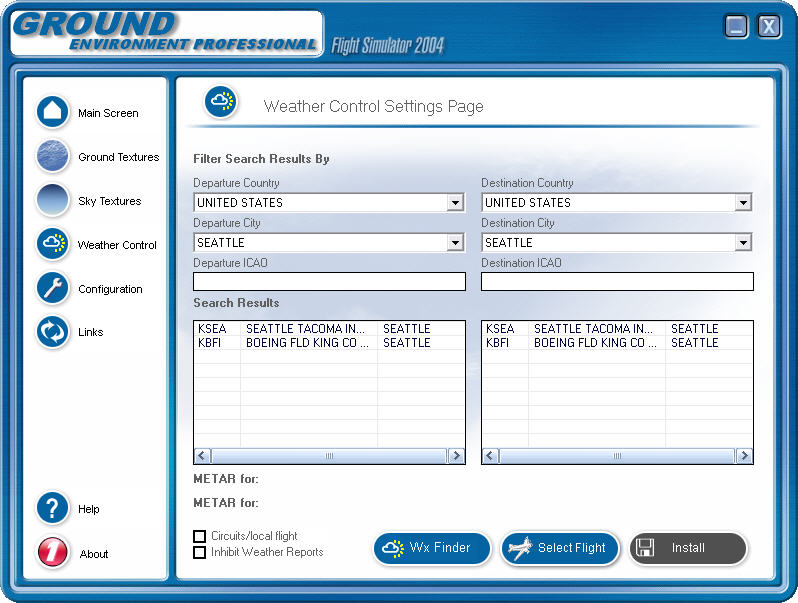
Here the default values are
Departure: Seattle (KSEA)
Destination: Seattle (KSEA)
Circuits/Local Flight: unchecked so we can select a destination
Inhibit Weather Reports: unchecked so we can view the decoded METAR for
any item we select
So the first thing to do is select the departure Airport.
We want
Chicago O'Hare (KORD), so, we can either start to type the ICAO code or
select Chicago from the departure city combo. Whichever
option we use to find KORD we need to select it from the list in the search
results listbox. At
this point we will be presented with a request to download the latest
METAR cycle
from NOAA.
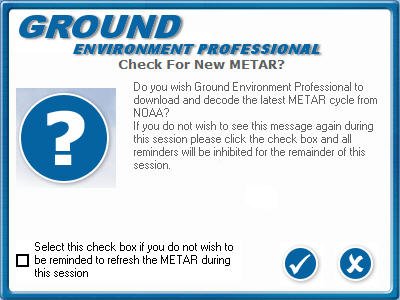
Here you have the option to use existing METAR data in the
database or download the latest cycle from NOAA. You
can also inhibit further requests for METAR updates during the current
session by clicking the checkbox to inhibit further requests.
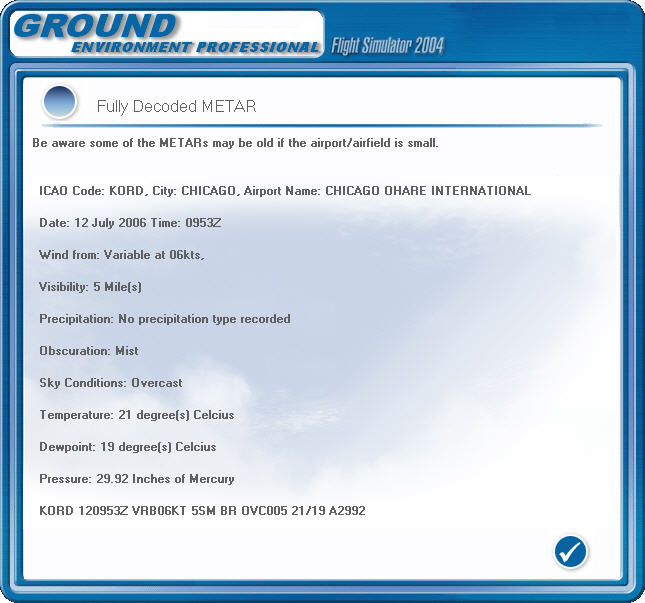
If you have not selected to inhibit Weather Reports then
a fully decoded METAR will appear:
We carry out the same procedure with Atlanta (KATL)
for the destination .
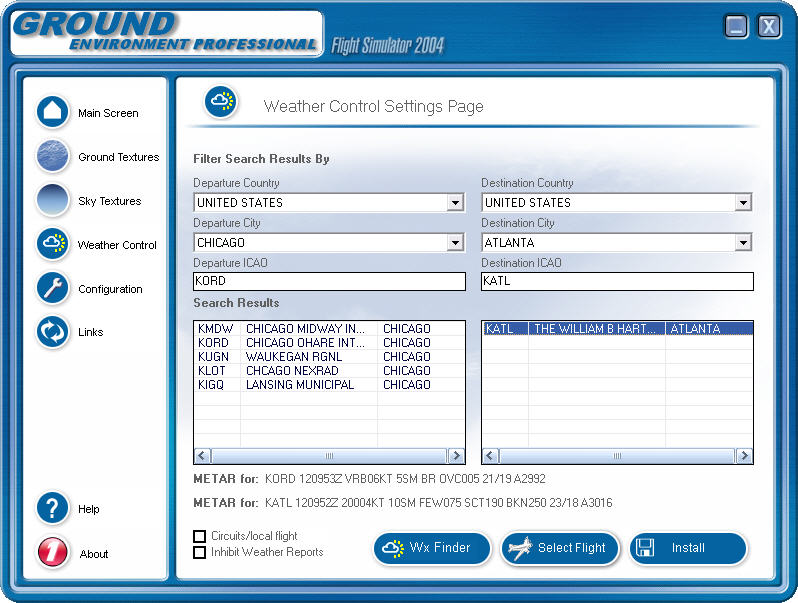
This is the result after selection. If
you look closely you can see that we used different methods to select the
destination and departure airports.The
departure airport was selected by using the departure city drop down list
to find Chicago and then selecting KORD from the Search Results list.
The destination
was selected by entering a partial ICAO code into the destination ICAO
textbox. When
Atlanta appeared in the search results listbox we selected it to add it
to our route.
We can now click on the Install button and this will start
us towards installing the most appropriate Texture Sets for the average
conditions on our route.
The first thing that will happen is that a message box will
come up asking if we want to add any waypoints to our route.
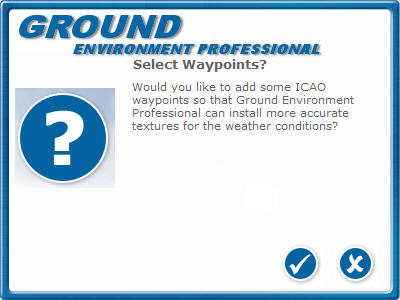
The waypoints will be certain aerodromes either on our route
or in the vicinity. You
can select the crossmark to say no and Ground Environment Professional
will only take into account the departure and destination. In
this case we are going to add 2 waypoints to our route so that we get
a more balanced set of texture sets installed. Selecting
the checkmark button brings up the following screen
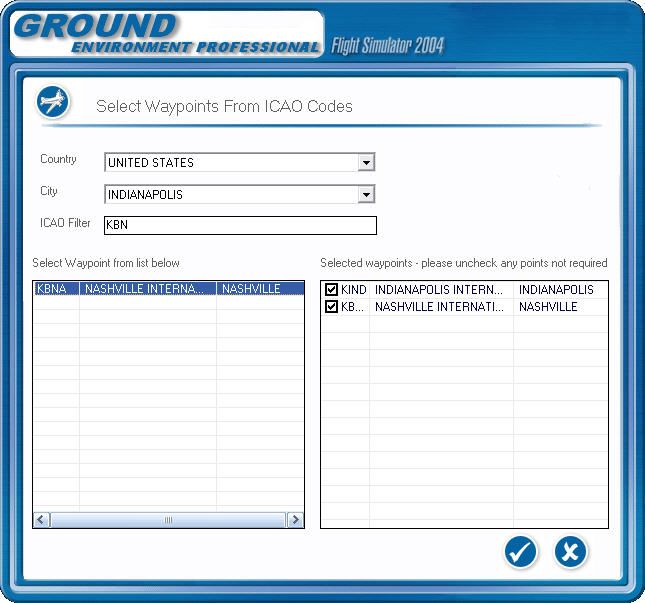
You select the aerodromes in the same way that you selected
the departure and destination airports the difference this time is that
the selected aerodromes are entered into the listbox on the right. If
you decide that you do not wish to use some of the waypoints entered on
the right, just remove the checkmark and the waypoint will not be evaluated
in the calculation for the texture set selection. We
selected Indianapolis (KIND) and Nashville (KBNA) as en-route waypoints.
We now select the checkmark button to carry on or the crossmark
button to abort the procedure.
If you selected the checkmark button to continue you will
be presented with the following message asking if you want to install
texture sets to match the weather conditions of the METAR data.

If you select the crossmark then no textures will be installed.
If you
select the checkmark then Ground Environment Professional will intelligently
select a balanced set of Sky and Ground Textures to match the average
conditions of your route.
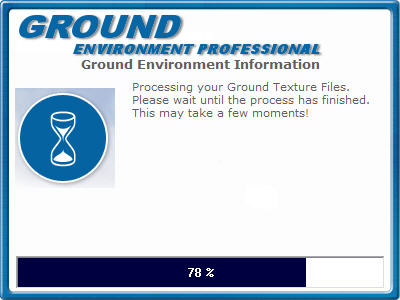
Once the installation is complete Ground Environment Professional
will ask if you wish to start Flight Simulator.

If you select the checkmark box then Ground Environment
Professional will start Flight Simulator and minimise to the task bar.
Enjoy your flight!
   
| 


