|
   
Tutorial 1 - First Time
Start-Up
When you first start Ground Environment Professional an
initial backup takes place so that there is a snapshot of your SCENERY\WORLD\TEXTURE
folder to return to at a later date if you wish.
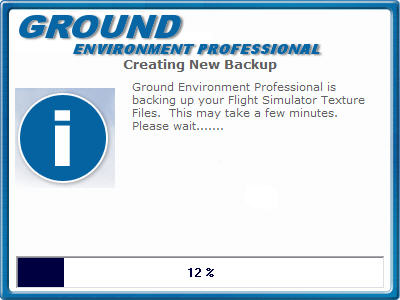
After the backup is done the Splash screen will close and
you will be presented with the following page;

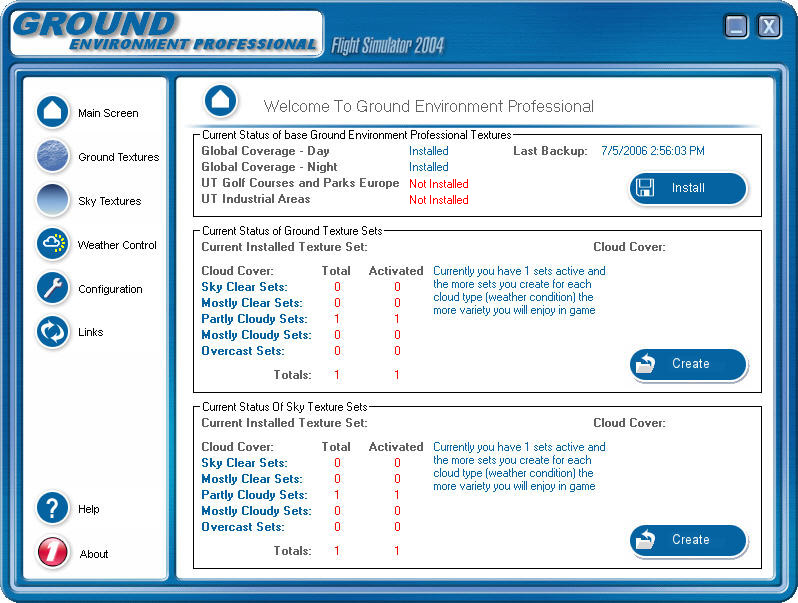
Here you will see the current status of Ground Environment
Professional. As
you can see, no base textures have been installed into Flight Simulator
so our next step is to install the base textures. Click
on the install button (top right) and you will be taken to the following
screen;
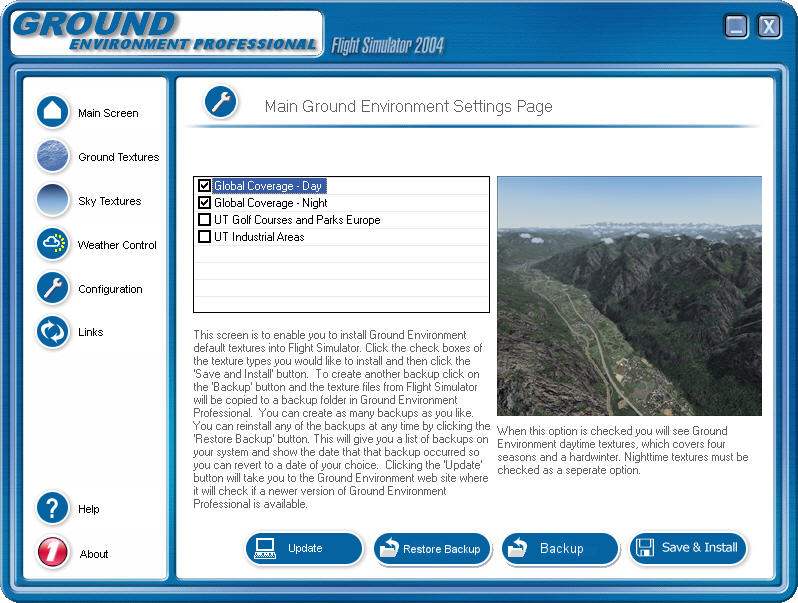
This is the window where we install our base textures. Select
the textures you wish to install from the list.
***
NOTE: "Global Coverage - Day" is the minimum option to see the
GE Pro textures and autogen in Flight Simulator 2004 ***
Here
you will see I have selected that I wish to install Global Coverage - Day
and Global Coverage - Night. Ensure
that if you do not have Ultimate Terrain Europe, you do not select
the last two options.
Now just click Save and Install and the Texture Sets will
be installed into Flight Simulator for you.
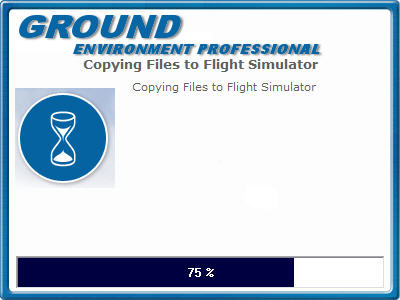
Once the textures are installed you should see in
the top section that Global Coverage - Day and Global Coverage - Night
textures have been installed. You
will also notice that under 'Current Status Of Ground Texture Sets' (second
frame down) that we now have the Default Texture Set installed.
Ground Environment Professional is now at a stage where
you can open Flight Simulator and enjoy the Textures that have been created
by Peter Wilding and Anthony Vos. This
is the minimum to get started. In
the next Tutorial 2 "Create Texture Sets" we will begin the customization of the environment
so that you can begin to see the power of this application.
|